

Azure Bot Service is the Bot-Service powered by the Microsoft Bot Framework and Microsoft Azure. It enables rapid intelligent bot development. In one of my previous post I talked about how we can leverage the Bot Framework and Build Your First Bot using Microsoft Bot Framework. With this Bot cloud service, you can build, connect, deploy and manage intelligent bots faster than ever. Be it is development, Configuration, connect with an of the Channel, adding intelligence everything! can be done in a single place – in fact over few clicks.
Open the Azure Portal and Navigate to New à Intelligent + Analytic & Bot Service (preview)

Provide all the required details such as Bot Service Name, your Azure subscription details, resources ( in this case I am using one of my existing one) and finally submit it.

Once the initial service setup and app service creation is done, you will find the following screen where you need to create Microsoft App ID and Password.

Click on the “Create Microsoft App ID and Password” button and follow the steps to generates them.
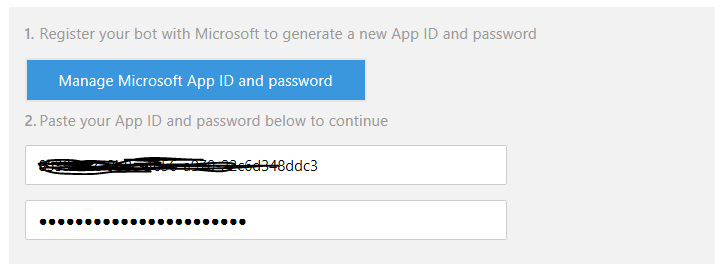
Once the App ID is generated, and you paste the password from the registration portal, you will find the language selection and Bot template selection section is enabled.
Here you can select any of these predefined template starting from Basic to integrated LUIS and even a Q&A Maker.

For this post, lets select language as C# and “Basic” template as predefined template.
Finally click on “Create Bot”.
Wait for a while when all the services are getting created….

That’s it! Your first chat bot is ready! All the 4 tabs in the Bot Service window – Develop, Channels, Settings & Publish are self-explanatory. You have your source code infront of you, you can connect with channel , apply settings and finally publish your Bot for others !

And interestingly, it has also a test emulator embedded where you can start testing the bot!

Navigate to “Channel” Tab, and from here you can publish it to all the available channels as shown in below image.

For an instance, to connect with Skype, just click on “Add to Skype” and follow the steps for connecting with BOT

Your chat bot is connected with Skype!

To publish the Bot into Bot Directory, you can navigate to Publish Tab, provide required details and push it. We will cover it in details in an another post.
Isn’t it very simple and straight forward. In upcoming post we will cover on some of the integration scenarios with Azure Bot Services and using this code base from Visual Studio !
Hope this helps.


Pingback: Compelling Sunday – 18 Posts on Programming and QA
Pingback: Dew Drop - January 9, 2017 (#2399) - Morning Dew